Photo session! The challenge was to style unrelated miniatures into a pleasing and comprehensive scene. Since I still have yet to construct a room box for display, the focal point had to be another table against a white background. The chosen table was previously bare wood on all surfaces. Thought that would be too bland in this instance so I stained all but the tabletop and underside in golden pecan. I believe the table material is basswood; the stain was unevenly absorbed, resulting in a worn, aged appearance. Quick and easy, I loved the result.
The lidded box used as a salt cellar is the gorgeous work of Bill Helmer. A collector recently requested miniature salt in a vessel for a tabletop. The most realistic recreation I could think of was the real thing - granulated table salt. We determined that she already owned the perfect vessel so I suggested that she could simply make the miniature salt herself. And attracting pests would be highly unlikely as salt is a natural repellent. All that is needed: about a teaspoon of table salt, ZipLoc bag, hammer and a towel. Place table salt in a corner of the bag, fold corner over twice and place on towel on a firm surface. Pound salt in bag with hammer several times (stress reliever!). Cut corner of bag and fill container, that's it!
Arranging the scene was fun - commissioned food, some food to be listed for sale
here. I'm imagining that the dragon bottle holds aged balsamic vinegar :^) Pure whimsy, found at The Crafty Bead at Etsy.
 |
Bread board by Janny Warnaar/Art of Mini.
Porcelain fruit plate dressed with my decal.
Lidded box by Bill Helmer. Silver plated teaspoon by Yukio Kawai.
All food by me, of course :^) |
 |
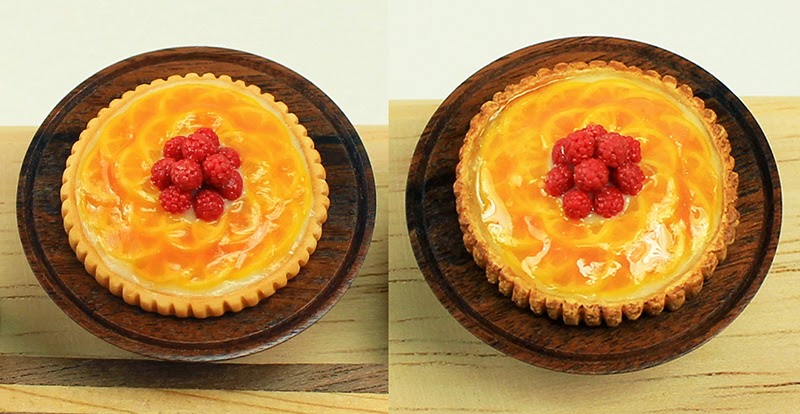
Gorgeous Santos rosewood pedestal plate by Thomas Saunders.
Bicolor cutting board by M&C Creations. |
 |
Beautiful shallow bowl in purple lilac by Larrell Howe.
Strawberry quart basket by Al Chandronnait. |
On a personal note, life has been very quiet and empty lately. Our beloved four-legged family member, Kobe, has left us for that magical meadow on the way to the Rainbow Bridge. We've been blessed to have had him in our lives and he'll live forever in our hearts....
.JPG)


